基于webase1.4.1版本来动态扩展群组按照上述文章一步一步操作即可,值得注意的是有一处坑,目前官方还没修复,可以参考文章的第八步来解决。
前言
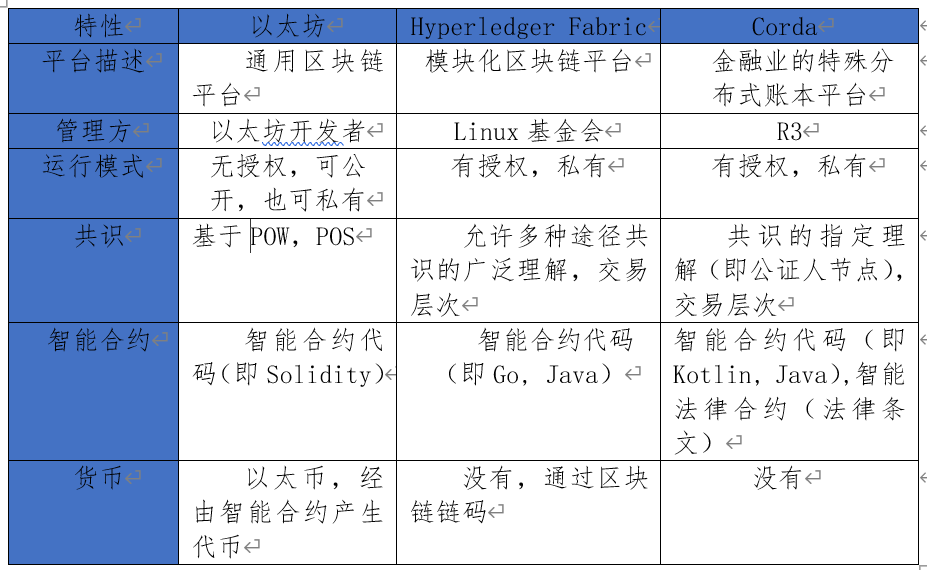
基于之前的文章 , 我们已经部署了链版本: 2.6.0 WeBASE版本: v1.4.1,架构是1群组1机构4节点 ,业务场景是在这个底层链的基础上来扩展群组来满足或者隔离不同的业务,比如食品溯源是一个群组,身份存证是一个群组,每个群组也可以抽象的理解为不同的链。
一、思路
需要准备的环境:
| 环境 | 版本 |
|---|---|
| Java | JDK8或以上版本 |
| webase-front | webase1.4.1 中的那份 |
每个节点所在的服务器都需要安装上述的环境,然后在webase中添加节点前置,最后即可动态的创建新群组。可以参考官方文档 https://webasedoc.readthedocs.io/zh_CN/latest/docs/WeBASE-Console-Suit/index.html?highlight=%E5%88%9B%E5%BB%BA%E7%BE%A4%E7%BB%84#id41
二、正式开始
1.环境介绍
服务器(已经安装了webase1.4.1): 10.21.36.166 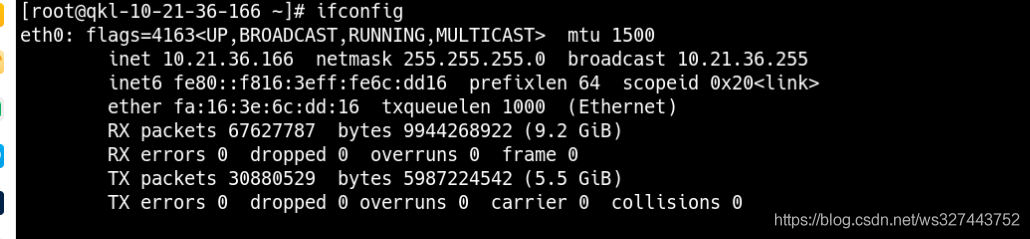 需在10.21.36.165、10.21.36.167、10.21.36.168中安装jdk和webase-front
2.复制已经安装好了的webase-front
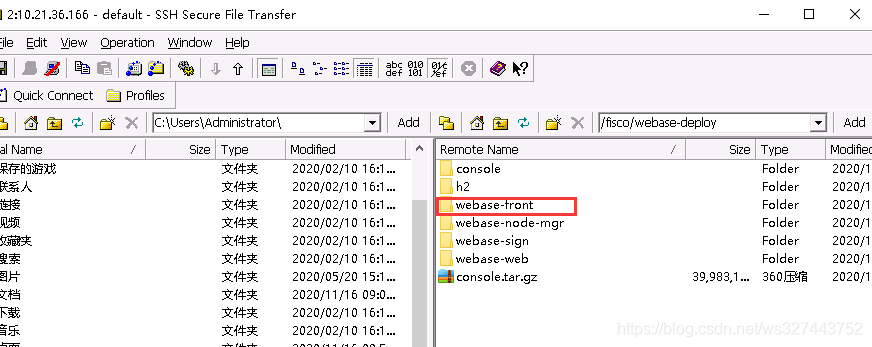 把上图的文件夹复制到10.21.36.165、10.21.36.167、10.21.36.168中,今天在这3台服务器中安装好jdk,可以参考这里jdk离线安装教程
3.给webase-front下的sh脚本授权
[root@qkl-10-21-36-167 webase-front]# chmod +x *.sh [root@qkl-10-21-36-167 webase-front]# ls apps conf lib log start.sh static status.sh stop.sh 
4.修改webase-front/conf下的application.yml
重点修改下图所示的点:
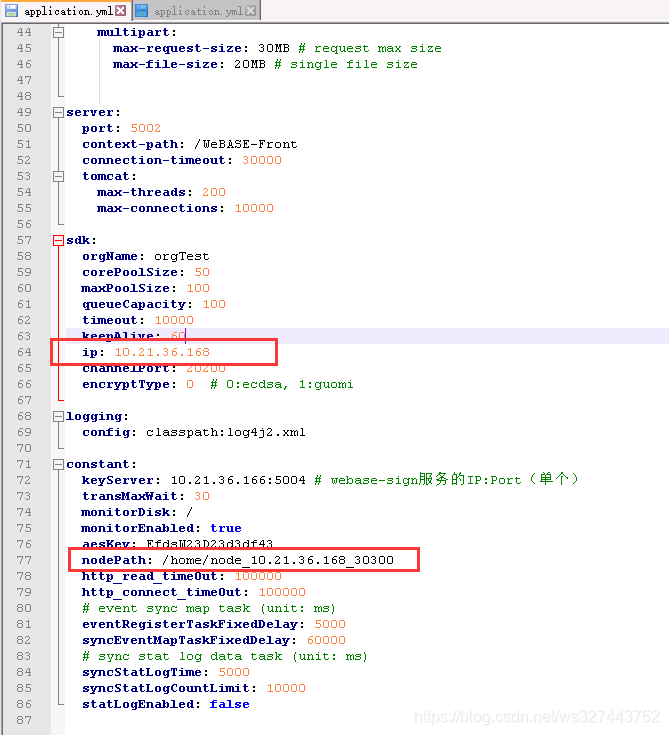
修改后的文件如下:
# server version version: v1.4.1 spring: datasource: url: jdbc:h2:file:../h2/webasefront;DB_CLOSE_ON_EXIT=FALSE databaseName: db driverClassName: org.h2.Driver serverName: username: password: jpa: database-platform: org.hibernate.dialect.H2Dialect database: H2 openInView: false show_sql: false generate-ddl: true hibernate: ddl-auto: update naming-strategy: org.hibernate.cfg.EJB3NamingStrategy session: events: log: false properties: hibernate.cache.use_query_cache: false hibernate.generate_statistics: false h2: console: enabled: true path: /console settings: web-allow-others: false trace: true rabbitmq: host: 127.0.0.1 port: 5672 username: password: virtual-host: publisher-confirm: true ssl: enabled: false http: multipart: max-request-size: 30MB # request max size max-file-size: 20MB # single file size server: port: 5002 context-path: /WeBASE-Front connection-timeout: 30000 tomcat: max-threads: 200 max-connections: 10000 sdk: orgName: orgTest corePoolSize: 50 maxPoolSize: 100 queueCapacity: 100 timeout: 10000 keepAlive: 60 ip: 10.21.36.168 channelPort: 20200 encryptType: 0 # 0:ecdsa, 1:guomi logging: config: classpath:log4j2.xml constant: keyServer: 10.21.36.166:5004 # webase-sign服务的IP:Port(单个) transMaxWait: 30 monitorDisk: / monitorEnabled: true aesKey: EfdsW23D23d3df43 nodePath: /home/node_10.21.36.168_30300 http_read_timeOut: 100000 http_connect_timeOut: 100000 # event sync map task (unit: ms) eventRegisterTaskFixedDelay: 5000 syncEventMapTaskFixedDelay: 60000 # sync stat log data task (unit: ms) syncStatLogTime: 5000 syncStatLogCountLimit: 10000 statLogEnabled: false 5.启动webase-front
[root@qkl-10-21-36-167 webase-front]# ./start.sh =============================================================================================== Server com.webank.webase.front.Application Port 5002 ...PID(52838) [Starting]. Please check message through the log file (default path:./log/). ===============================================================================================6.在webase1.4.1中添加节点前置
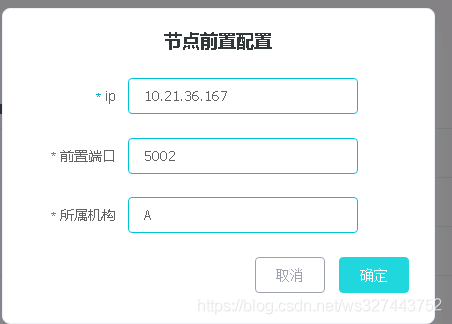
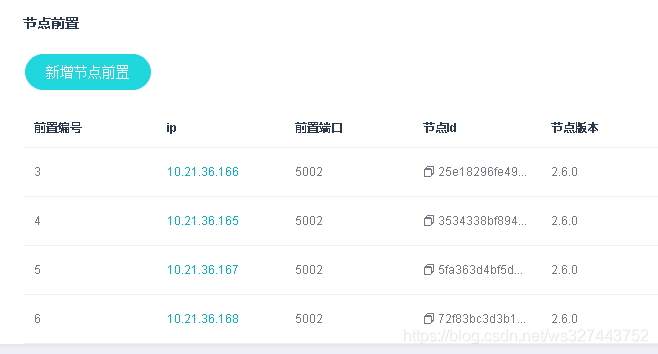
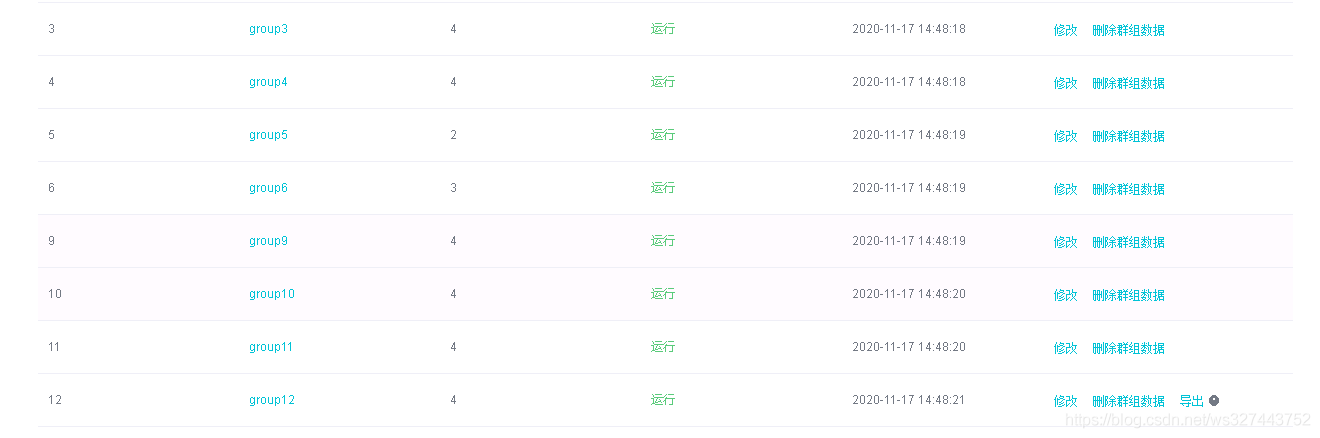
7.在webase1.4.1中创建群组
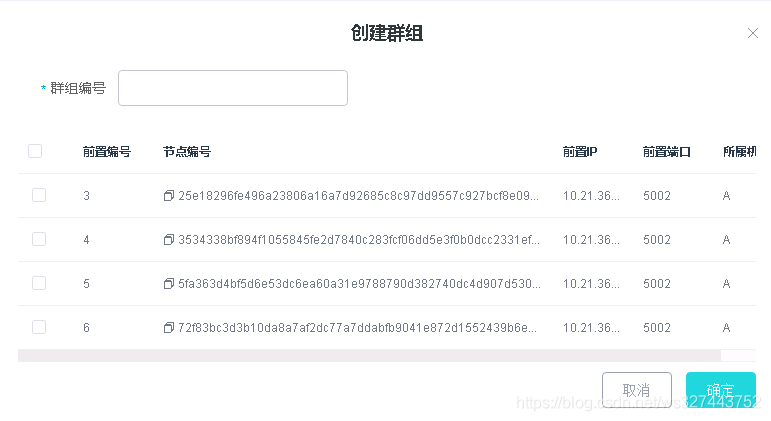
最后即可动态的创建新群组。可以参考官方文档 https://webasedoc.readthedocs.io/zh_CN/latest/docs/WeBASE-Console-Suit/index.html?highlight=%E5%88%9B%E5%BB%BA%E7%BE%A4%E7%BB%84#id41
8.webase1.4.1中添加群组有一处坑如下如所示:
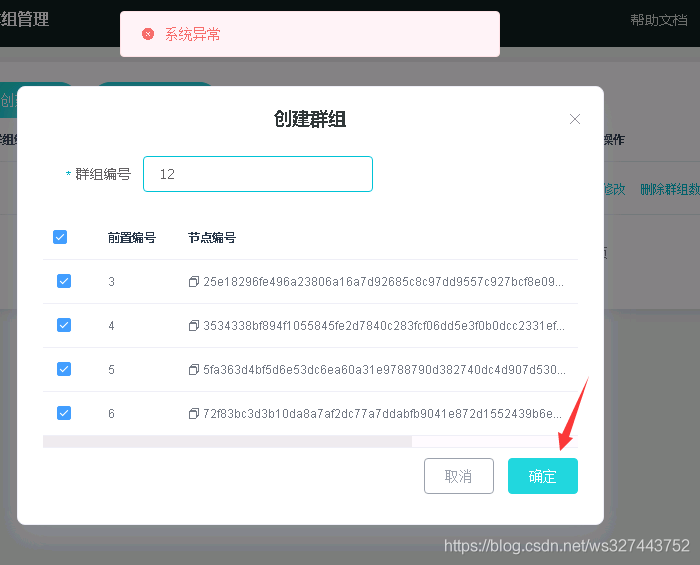 群组管理-加入已有群组时,导入群组的配置后点击确定,出现系统异常,同时再次点击时,显示群组已存在。
解决方法: 下载以下链接的安装包,将原有的webase-node-mgr/apps/中的WeBASE-Node-Manager.jar替换为新安装包中的apps/WeBASE-Node-Manager.jar的新包,然后重启 https://osp-1257653870.cos.ap-guangzhou.myqcloud.com/WeBASE/download/temp/v1.4.1/webase-node-mgr.zip
注意是10-29的那个包
PS:官方回复,这是一个已知bug,是因为db里的默认空值导致的,将在v1.4.2中修复
总结
<font color=#999AAA > 基于webase1.4.1版本来动态扩展群组按照上述文章一步一步操作即可,值得注意的是有一处坑,目前官方还没修复,可以参考文章的第八步来解决。